
This bathroom remodel called for a fresh set of vanity lights, and swapping a light fixture is one of the most satisfying upgrades you can knock out in an afternoon. But when the old fixture came down, we found a common surprise waiting behind it. Here is exactly how we handled it, step by step, so you can tackle the same job with confidence.
How We Did It, Step by Step
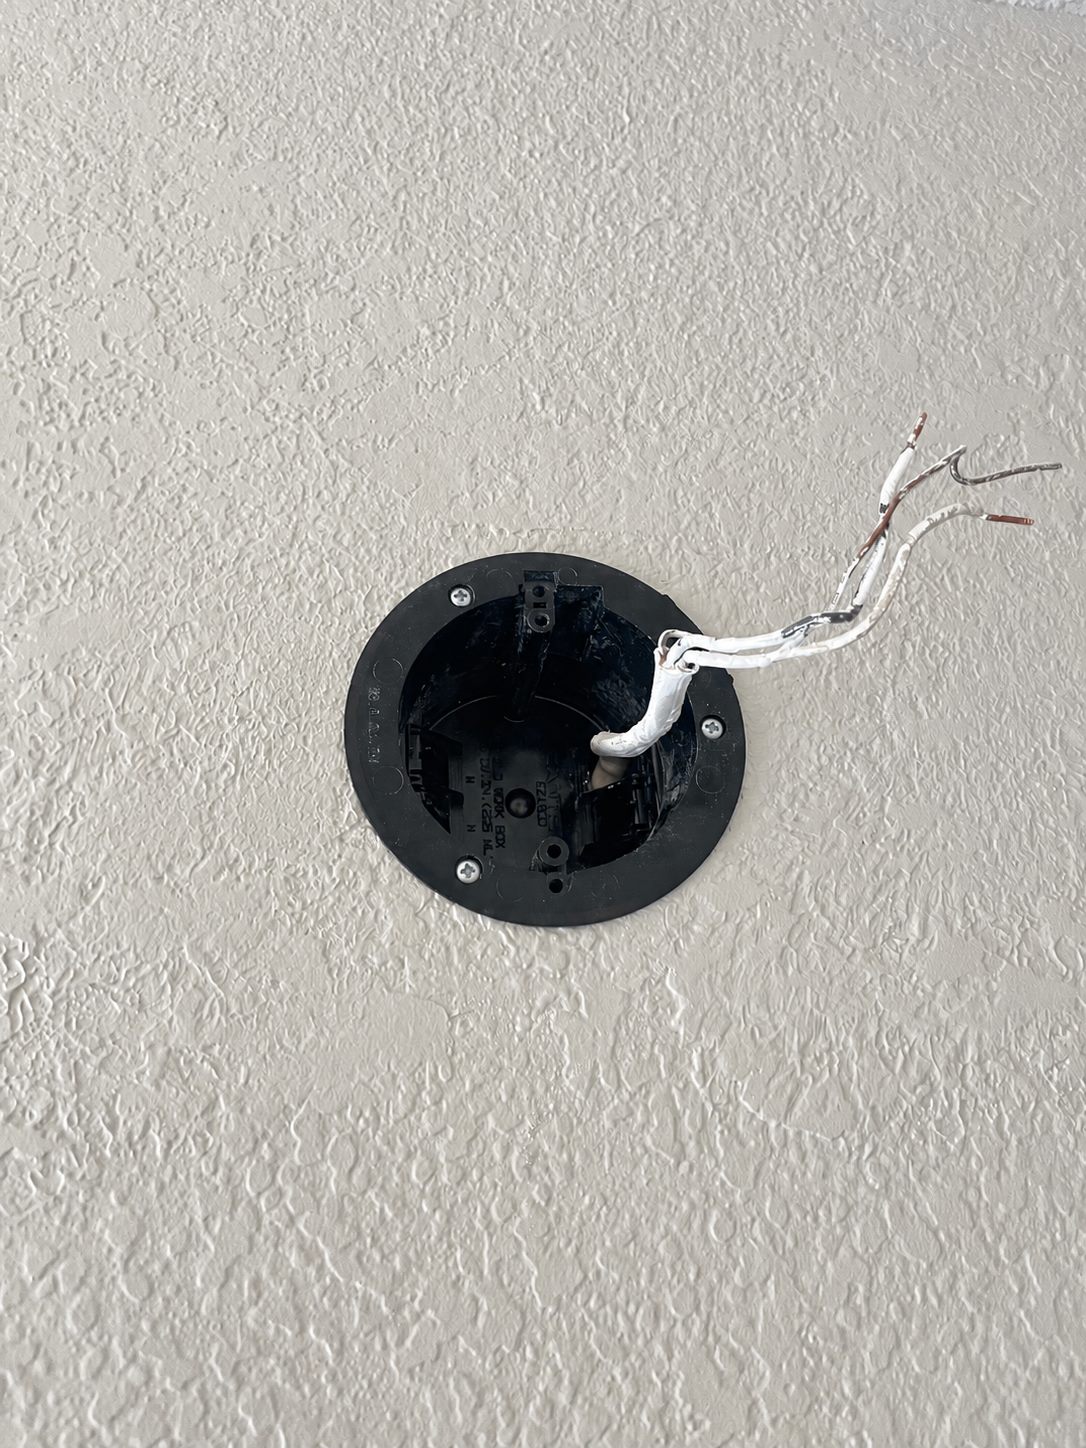
The old fixture was already down, and we hit our first problem right away.
- With the old light removed, all that was left were the supply wires poking out of the wall — there was no electrical box behind them.
- That housing is not optional. Without a box to contain the connections, the fixture is a fire hazard and not up to code.
- The box also gives you a solid, rated surface to actually mount the fixture to; bare wires in drywall give you nothing to anchor into.
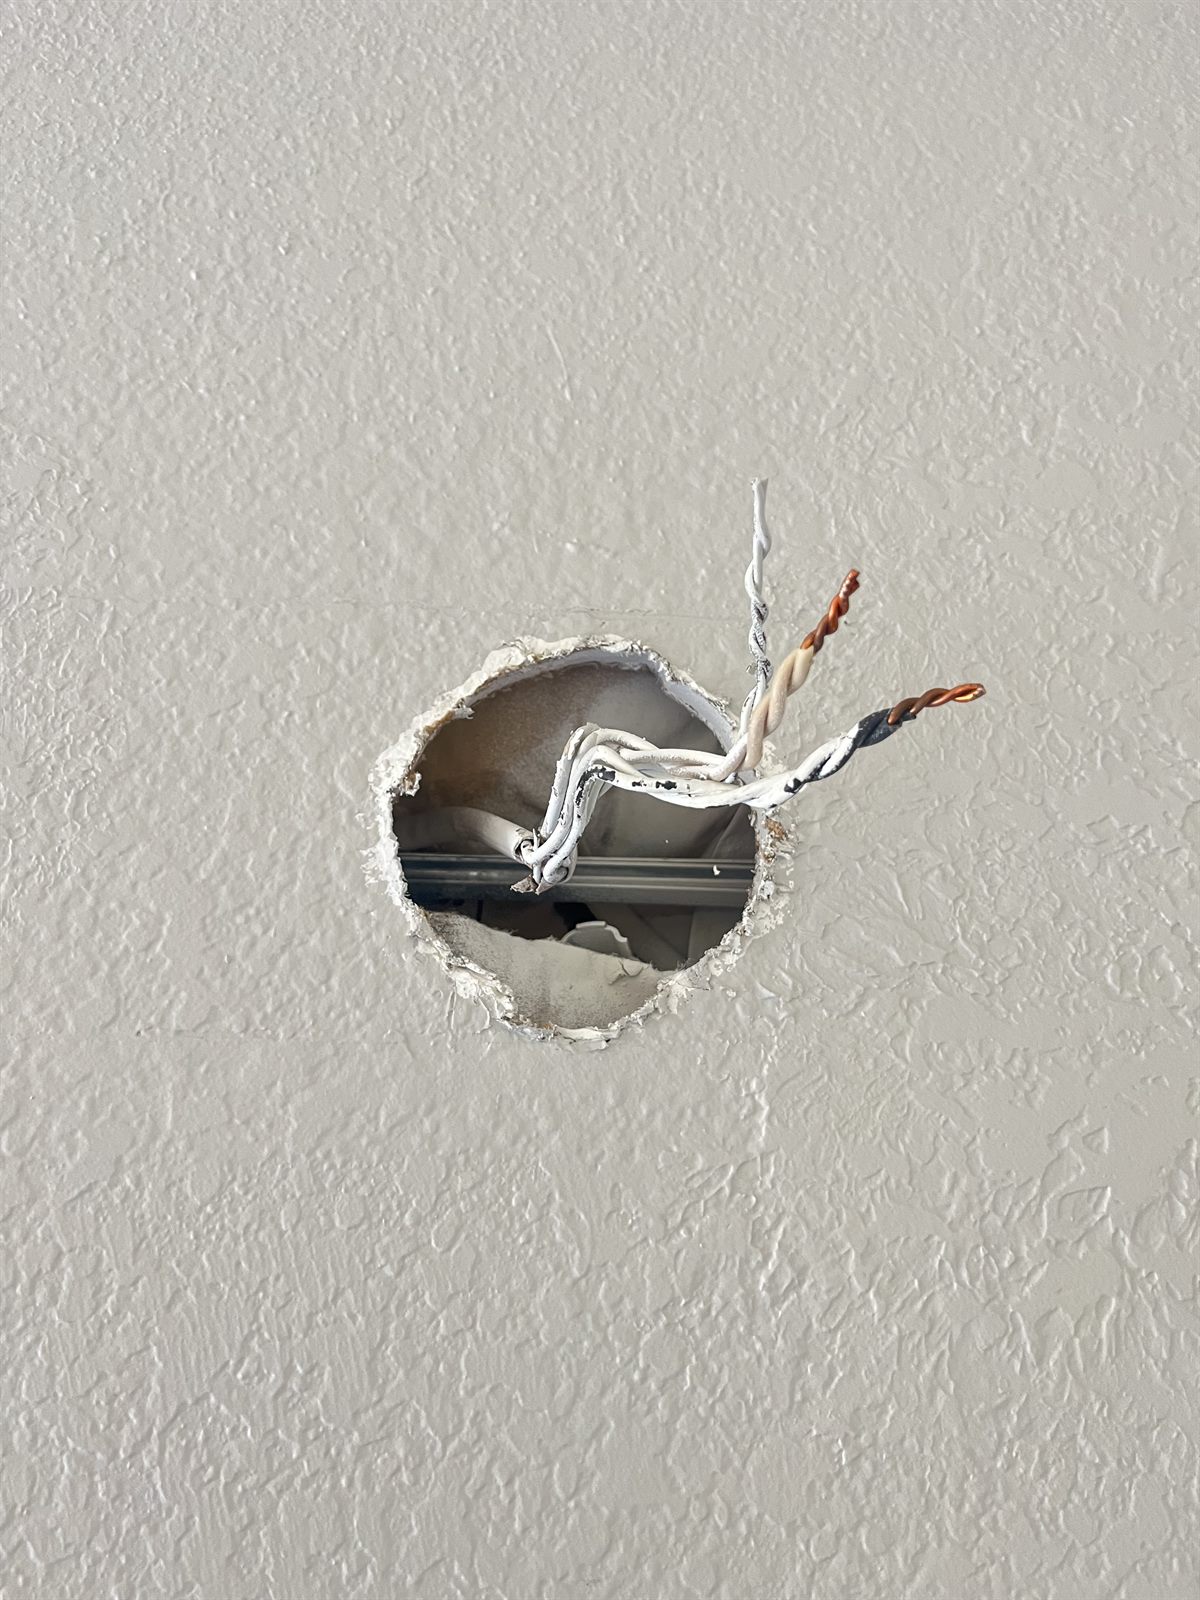
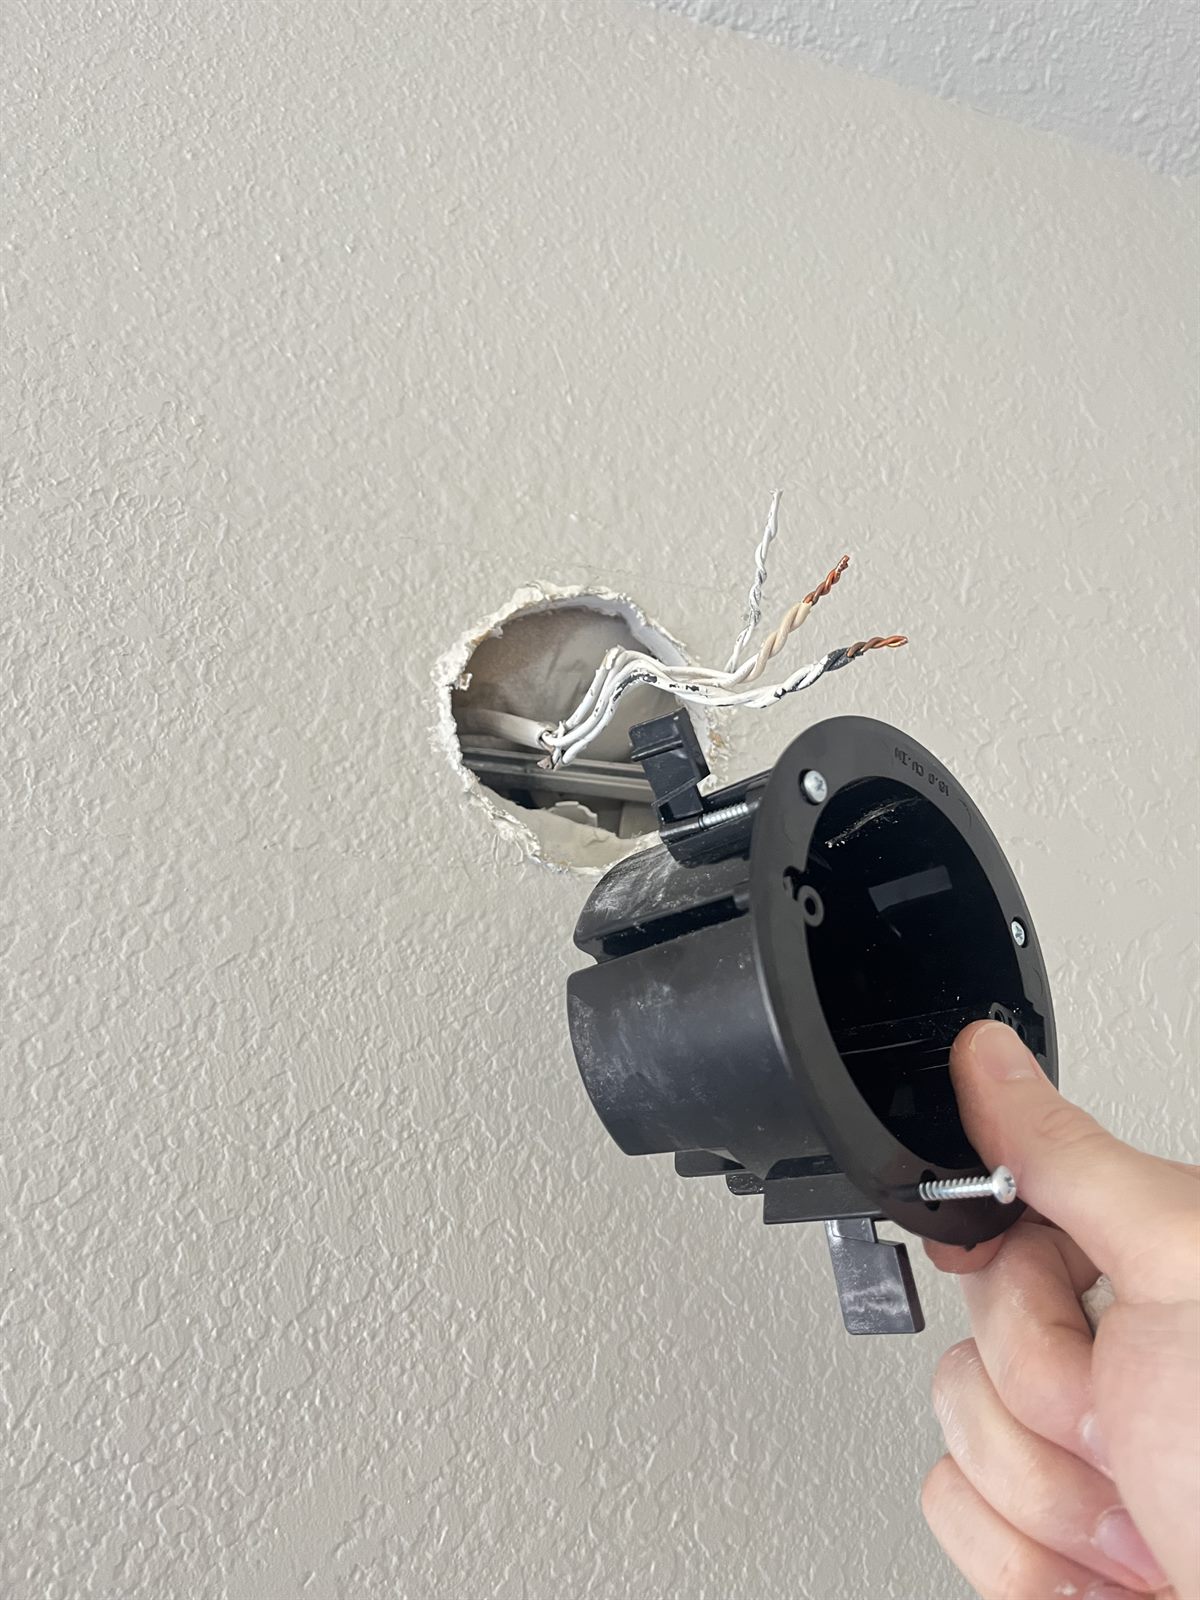
The fix is an "old work" electrical box, made for exactly this situation.
- An old work box (also called a remodel box) installs from the front of a finished wall — no need to open up drywall or find a stud.
- Built-in wings flip out and clamp against the back of the drywall as you tighten the screws, locking the box in place.
- Pick one rated for the weight of the fixture you are hanging.
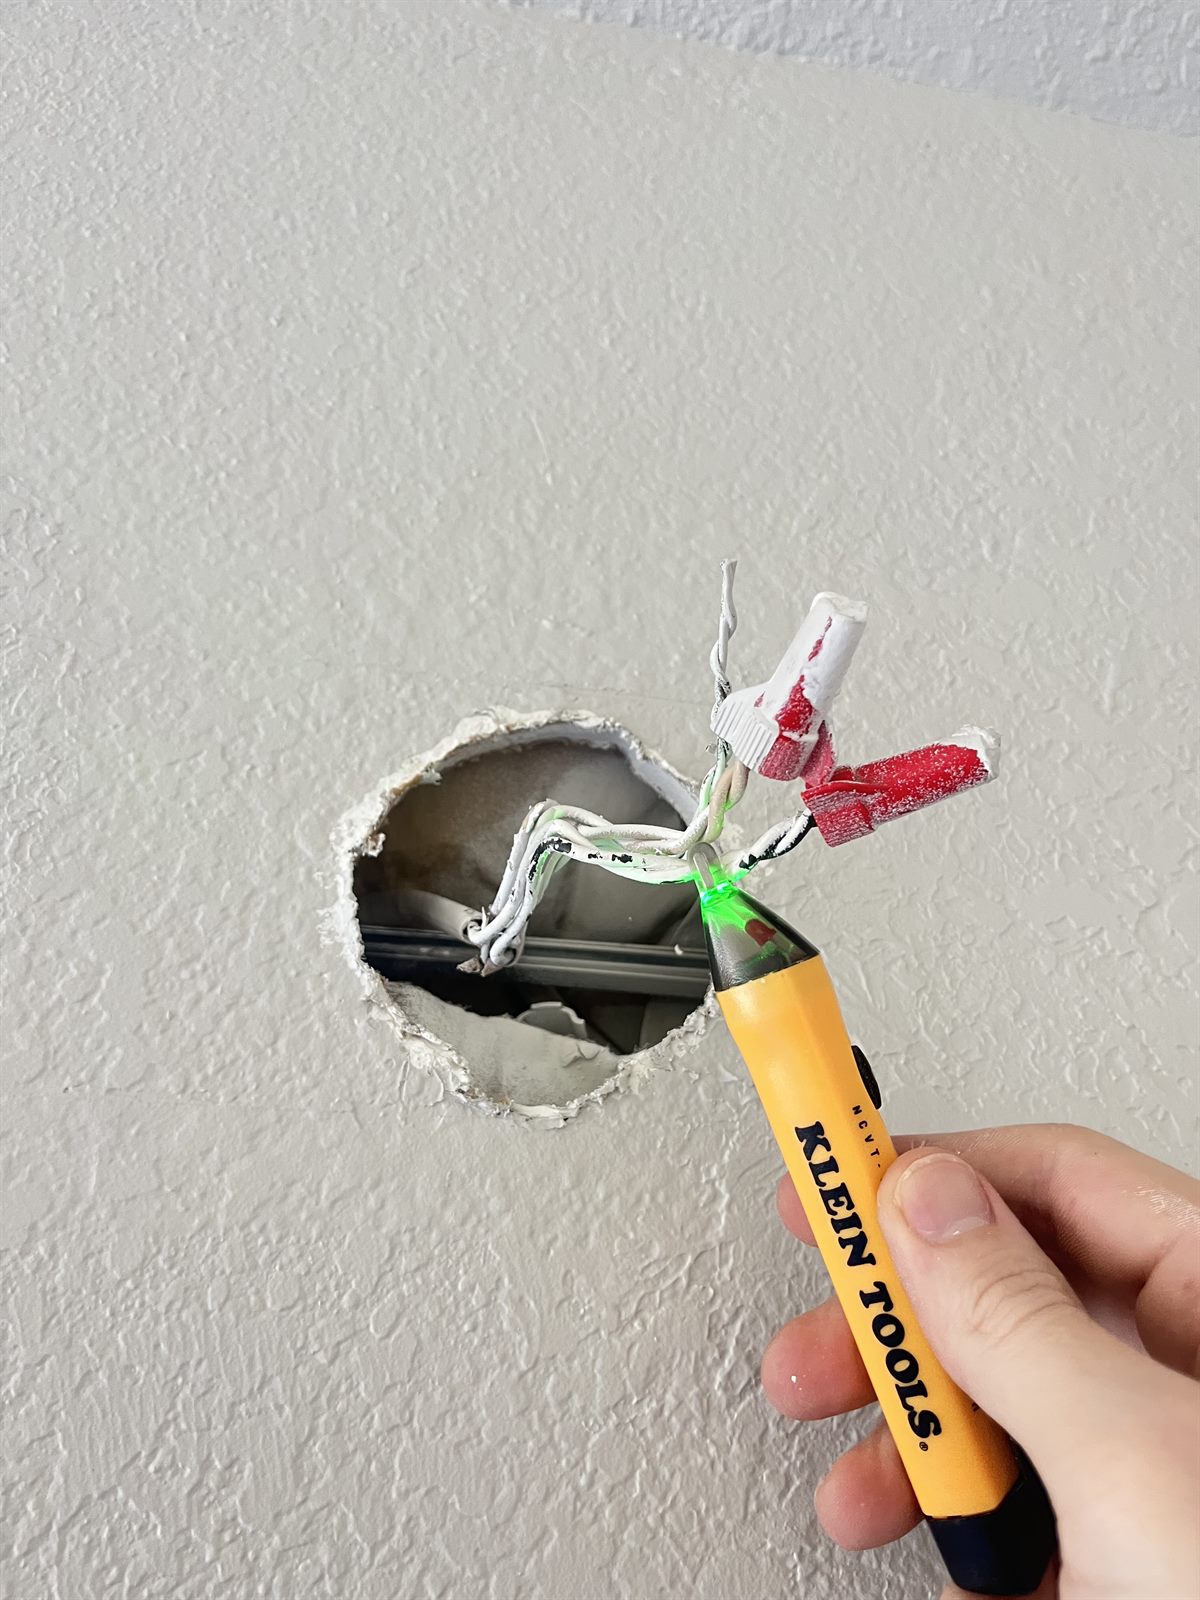
Before you touch a wire, kill the power and prove it is dead.
- Shut off the breaker feeding the fixture at the panel to keep yourself safe.
- Verify with a simple non-contact voltage tester right at the wires — do not trust the wall switch alone.
- This takes ten seconds and it is the one step you never skip.
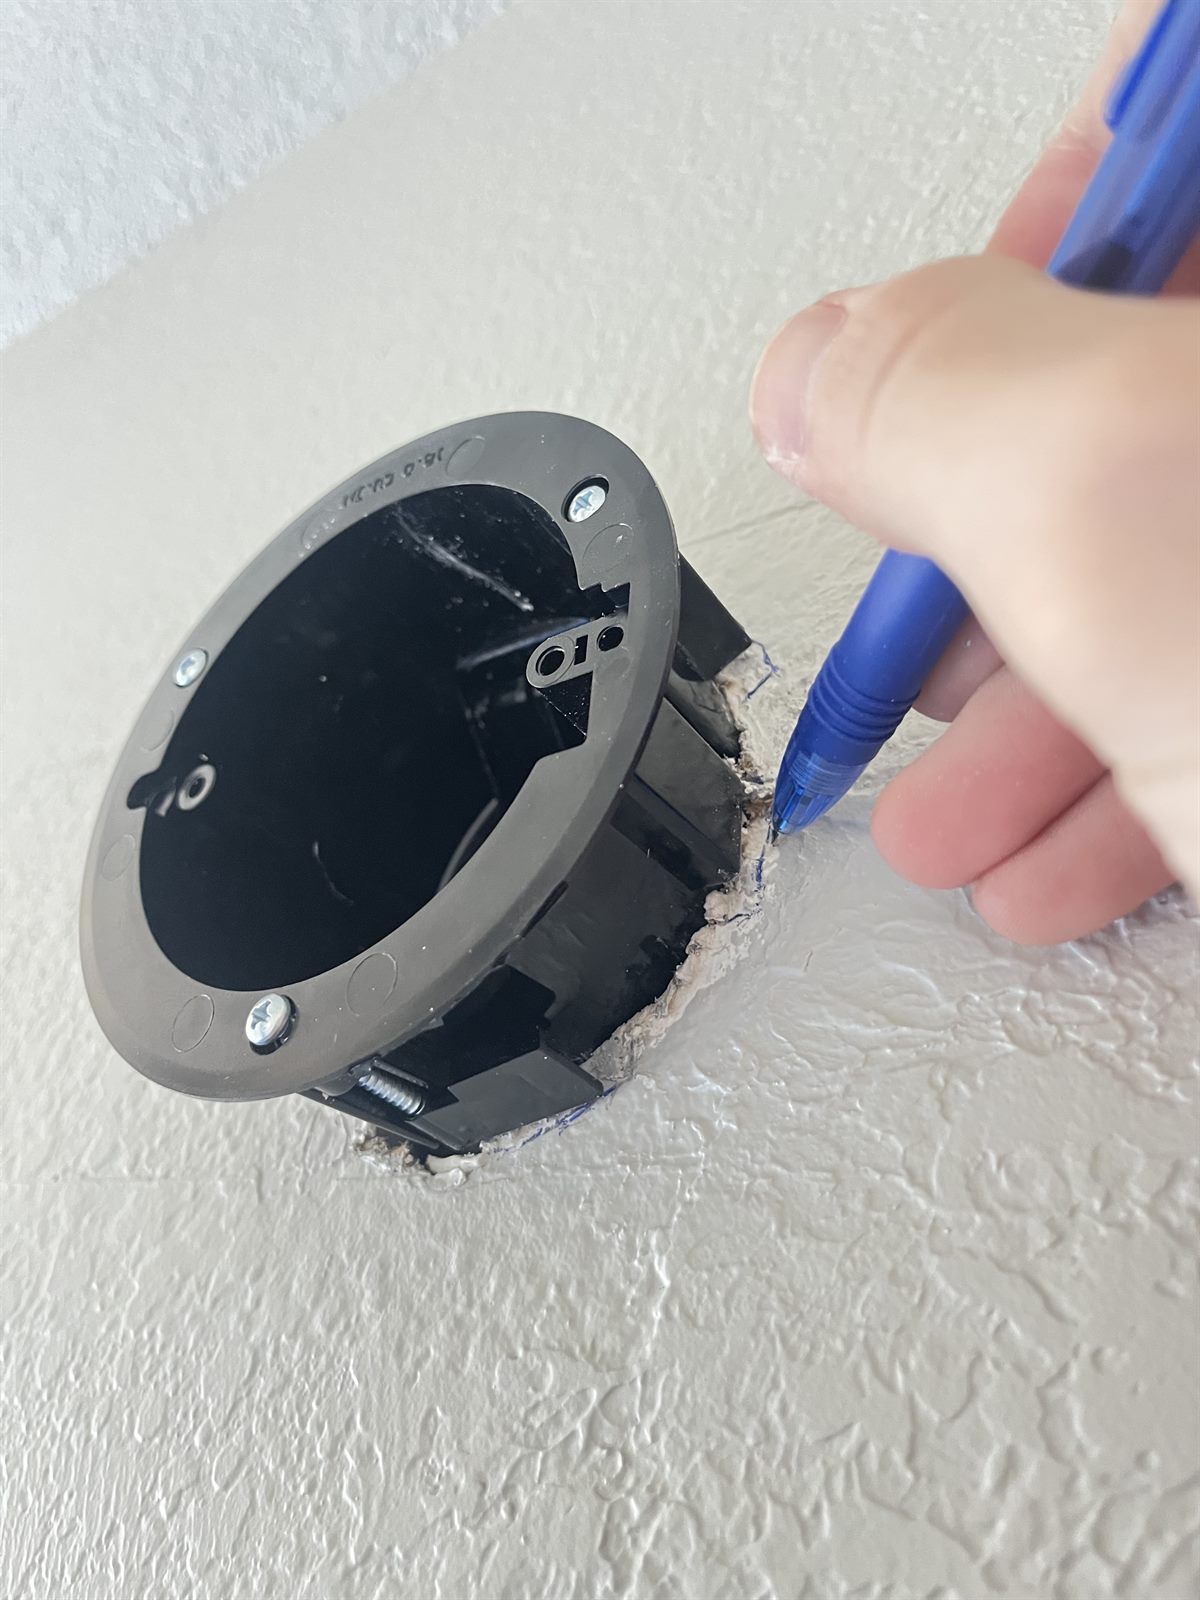
Trace the box onto the wall, then cut the opening.
- Hold the box against the wall and trace the back as best you can, including the surrounding bumps so the flaps have room to swing in.
- Aim for a snug fit — you want it tight enough that the box needs a few taps to seat, not loose.
- Cut the trace out with a drywall saw or an oscillating multi-tool. I prefer the oscillating tool myself; it is cleaner and easier to control.
Punch a tab, route the wires, and seat the box.
- Pop out one of the pre-scored tabs on the back of the box and feed your wires through it.
- Push the box all the way back until its front lip sits flush against the wall.
- Give each screw a hand tighten to swing the wings out and clamp the box down. Now you are ready to mount your light.
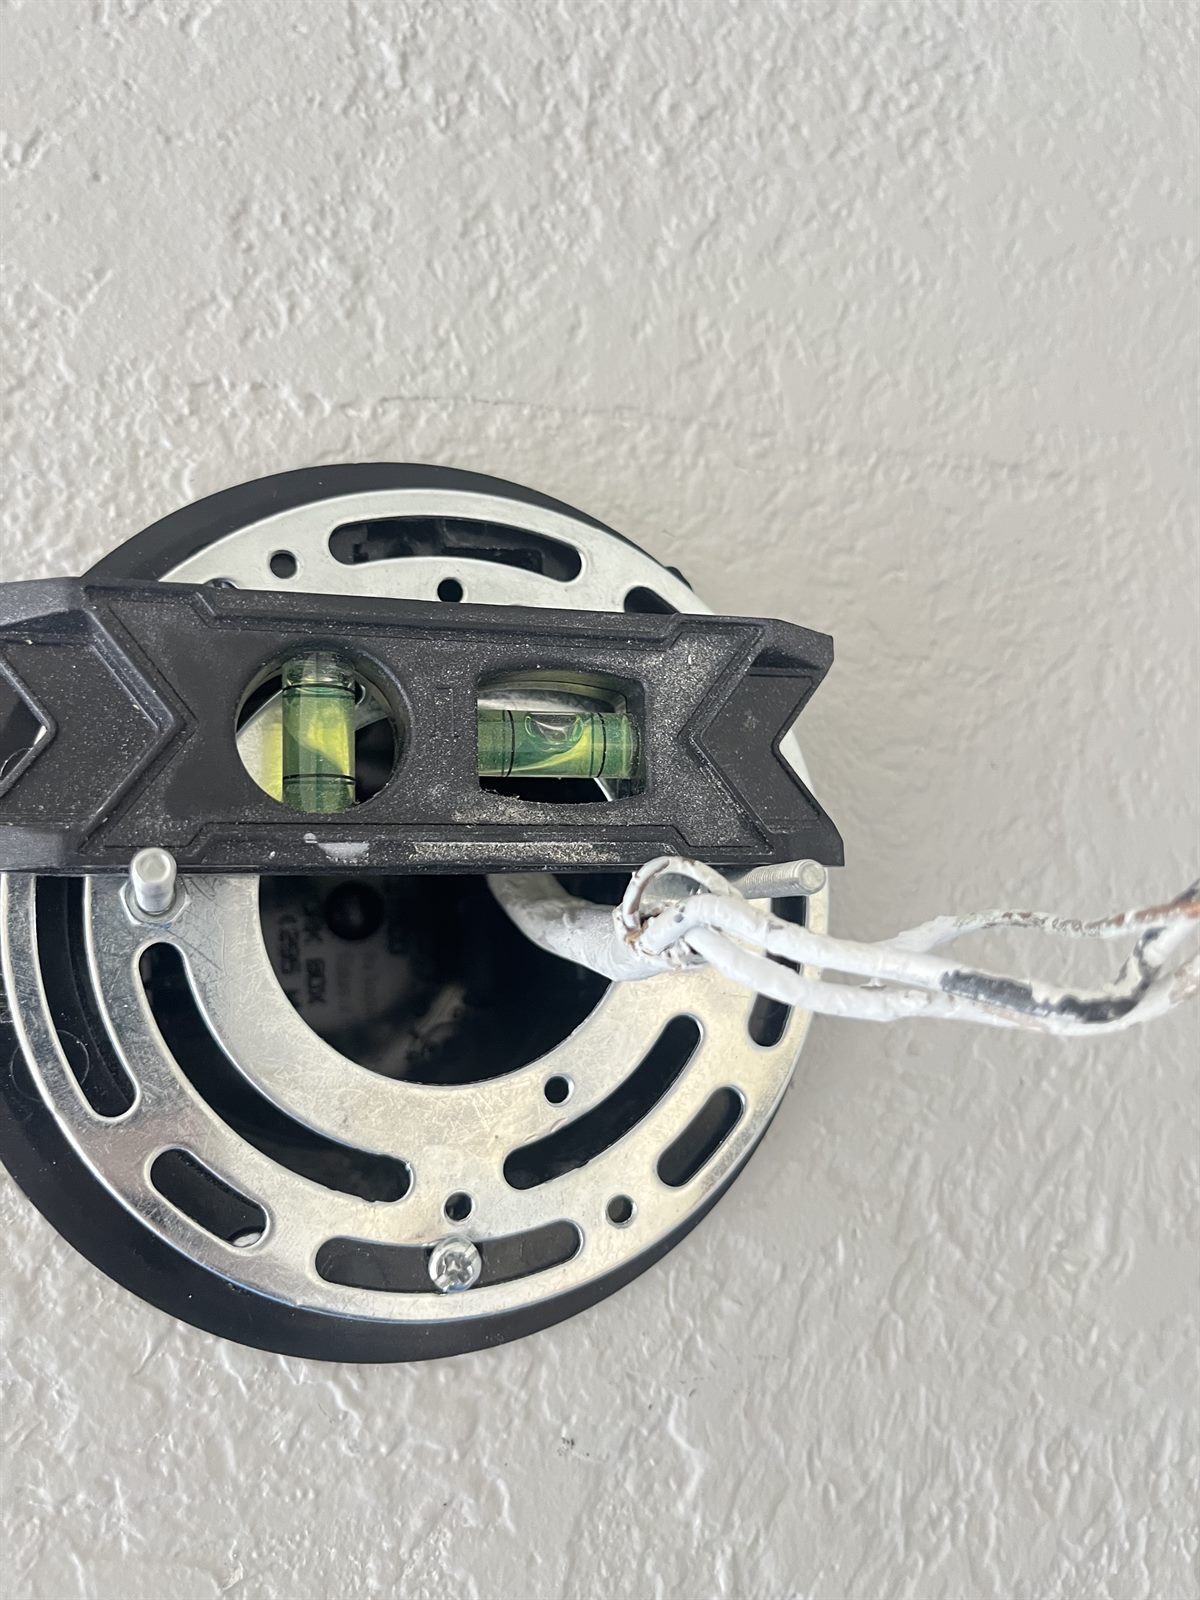
Mount the fixture bracket and make your wire connections.
- Mount the light according to its specific instructions and attach the bracket to the box; every fixture is a little different.
- Wire it up properly: black to black, white to white, and bare to bare (that is your ground). Your setup may be different, so verify first.
- Wago connectors or wire screws tightened down properly are both good options for the wire-to-wire connections.
- Make sure the bolts protruding from the mounting plate are level so the fixture hangs straight.
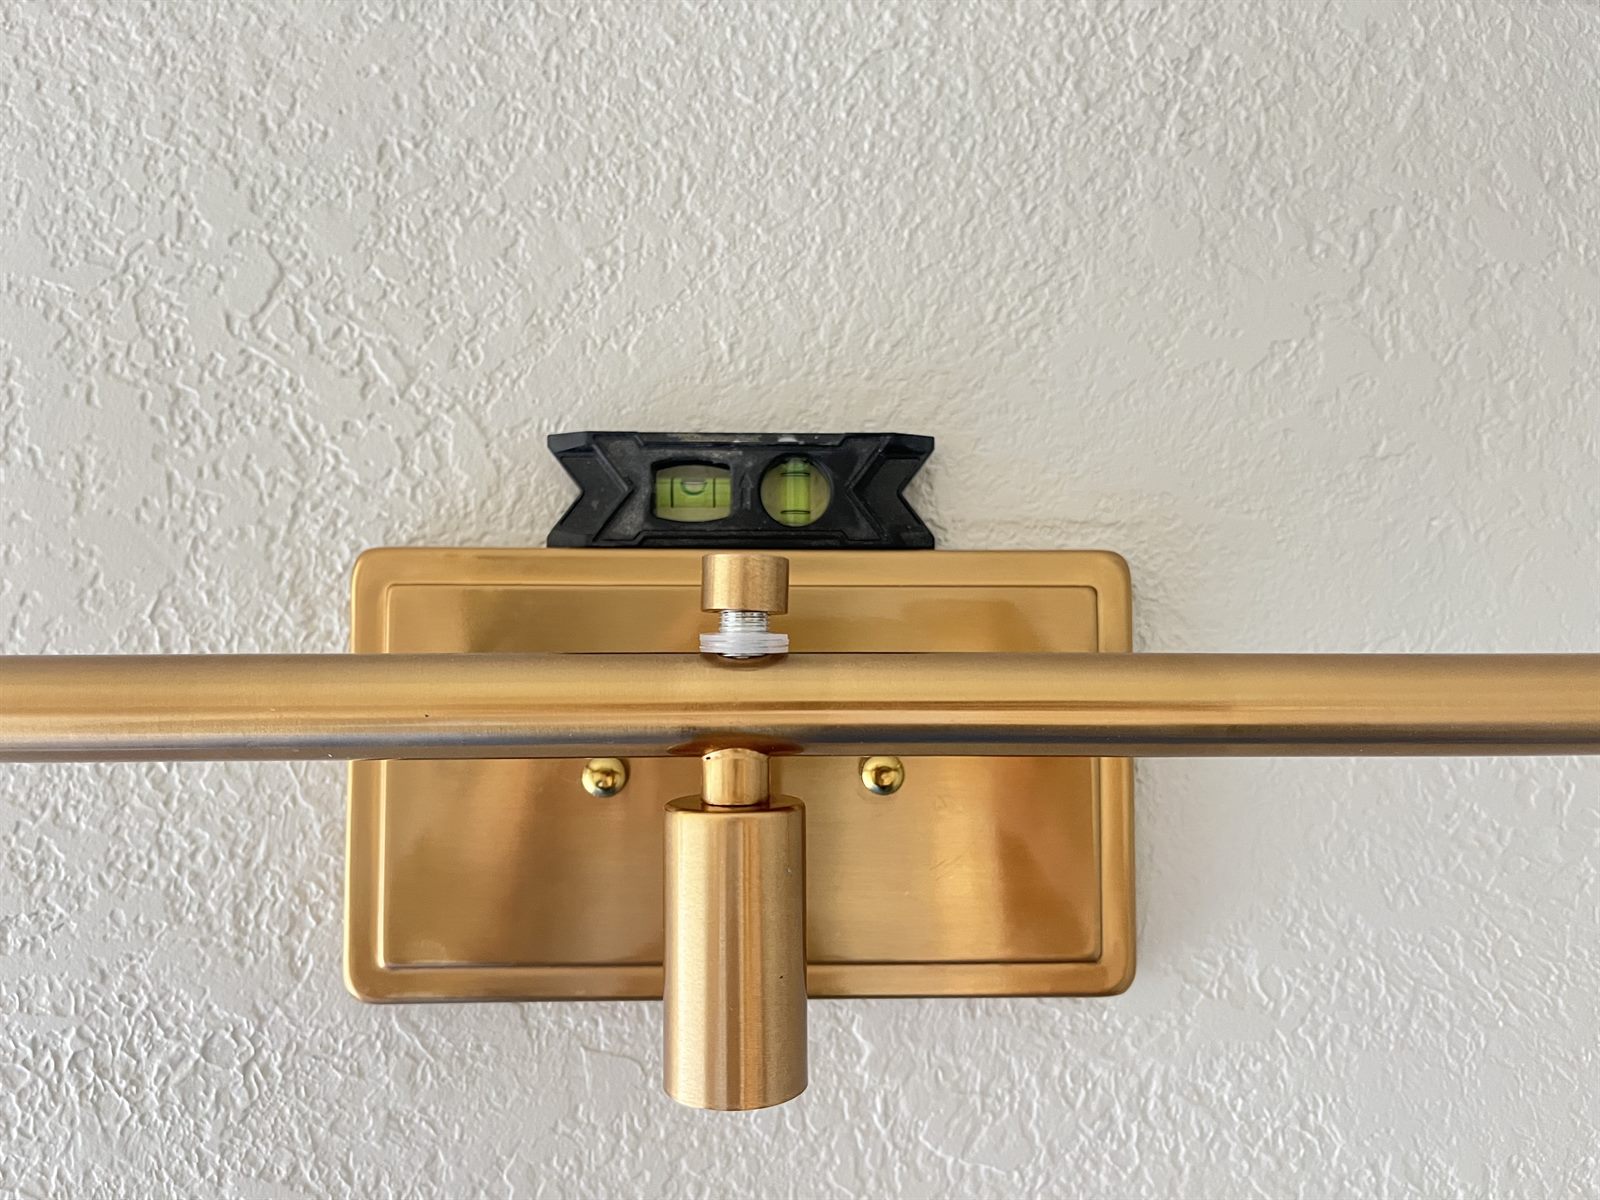
Hang the fixture, level it, and add the glass and bulbs.
- Set the fixture onto the mounting bolts and snug it into place.
- Level it out before you tighten down fully — a small torpedo level makes this quick.
- Install the glass shades and bulbs last so you do not risk breaking them while you work.
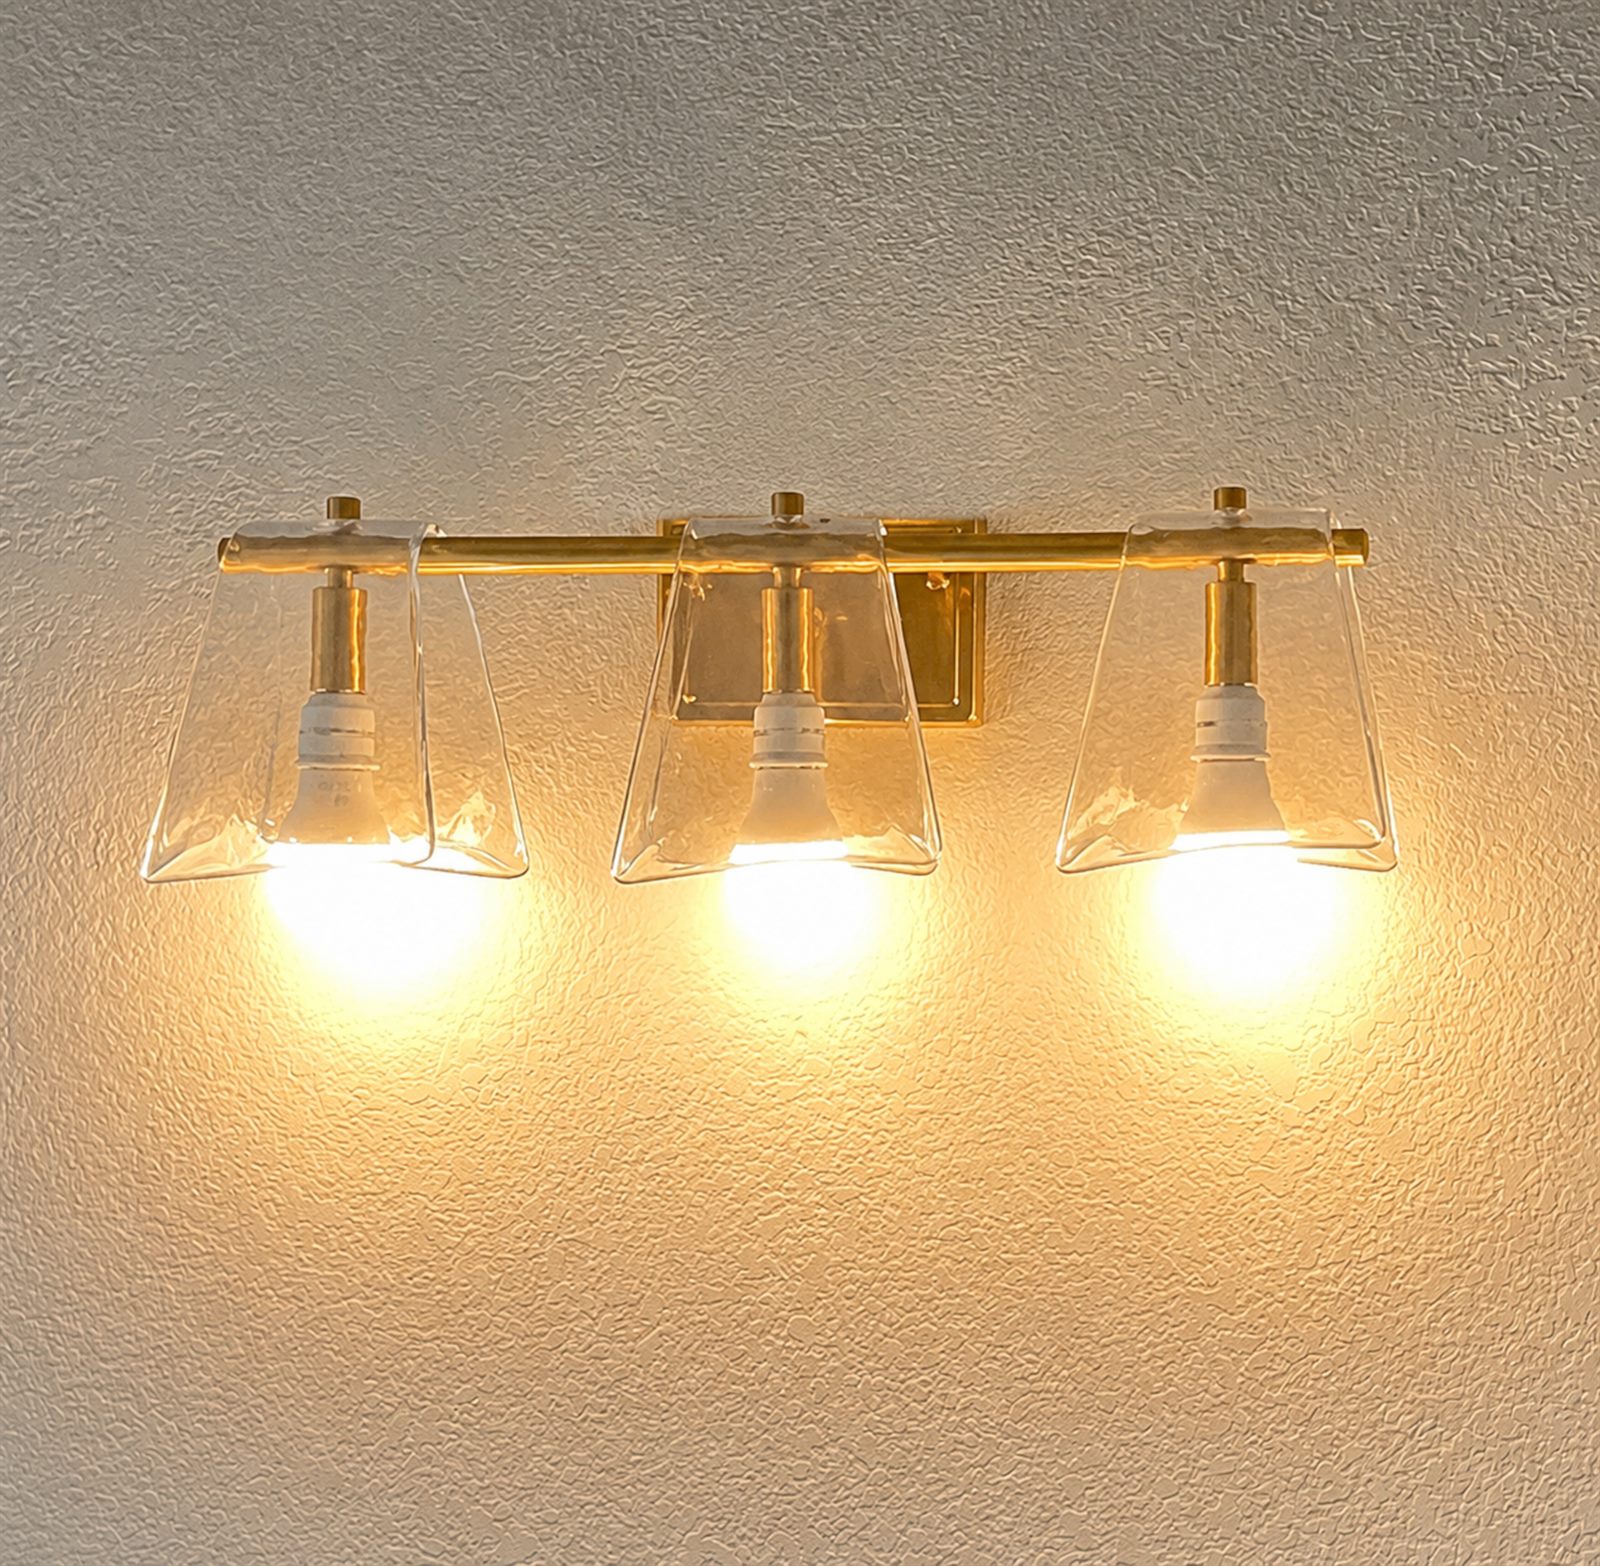
And voila, you are good to go.
- Flip the breaker back on and test your new light.
- Give everything one last look to make sure it is snug and sitting straight.
- Enjoy the upgrade — a fresh fixture completely changes the feel of the room.
None of these steps mean opening up a wall or pulling new circuits, which keeps a straightforward fixture swap firmly in DIY territory. That said, if you are ever unsure about the wiring you find behind an old fixture, it is worth having a pro take a look. If you are in the Carrollton area and would rather leave it to us, we are happy to help.